How to Install S-5! ColorGard Snow Retention on a Standing Seam Metal Roof
It's that time of year again. Snow is coming, and we're back on the roof with Jim for another episode of Shop Talk!
Today's project? Installing an S-5! ColorGard snow retention system on a standing seam metal roof.
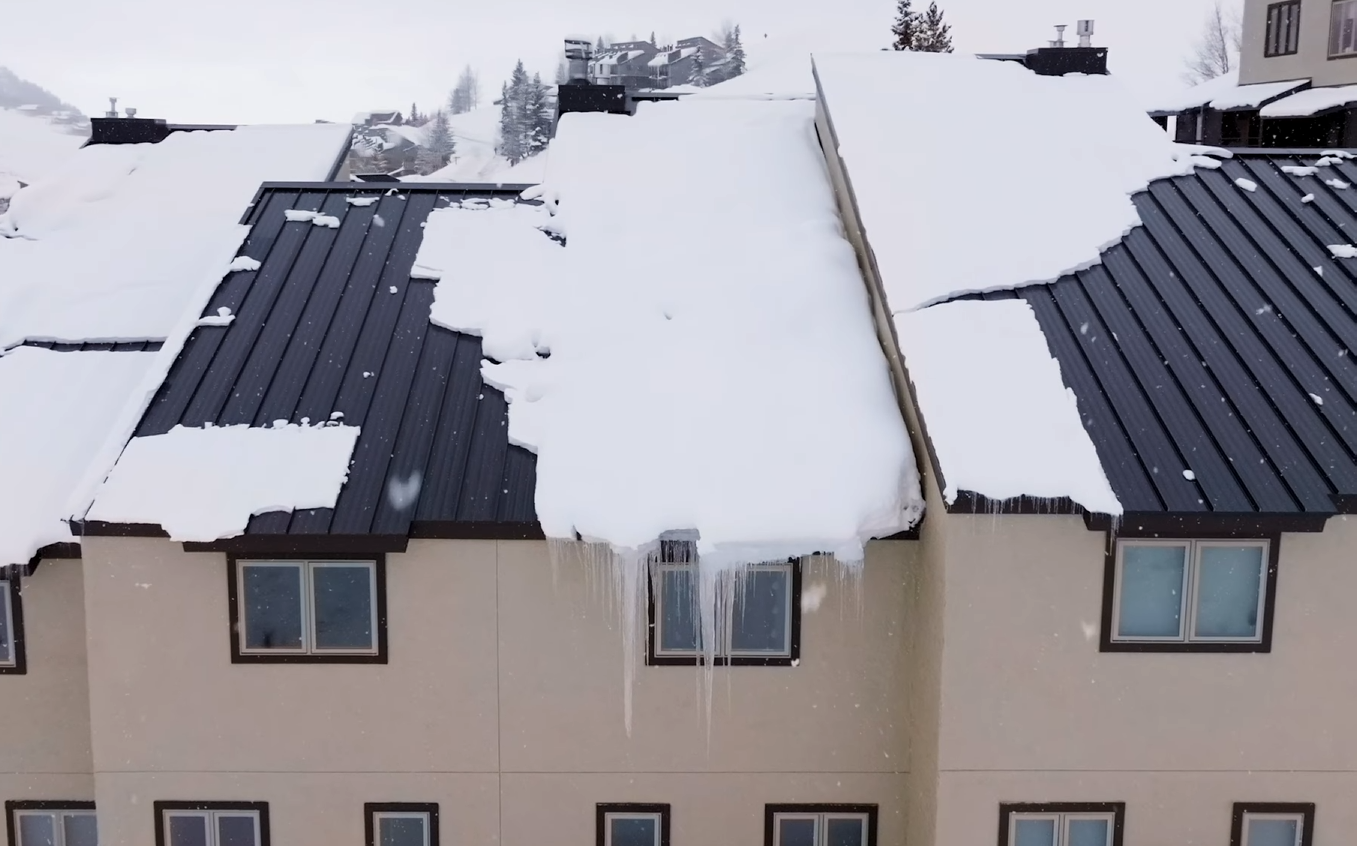
If you're building in Colorado's mountains, you know snow management is part of the deal. The goal isn't necessarily to get snow off your roof as quickly as possible. Sometimes, it's better to keep it right where it is.
Let's talk about why, how this system works, and what goes into getting it installed correctly.
What Is Snow Retention, and Why Does Your Metal Roof Need It?
Snow retention is designed to hold accumulated snow on a roof, allowing it to gradually melt or release in smaller amounts rather than sliding off all at once.
Metal roofing has a relatively smooth surface. When temperatures rise, the bond between the snow and the metal can break, allowing a large accumulation to slide down the roof.
That sudden release can damage gutters, landscaping, vehicles, and anything else sitting below the roofline.
A properly designed snow retention system helps manage that movement.
And here in Gunnison, Crested Butte, and the surrounding mountain communities, that's a detail worth getting right.
Why We Like the S-5! ColorGard System
ColorGard is a bar-style snow retention system that attaches to compatible standing seam roofing using S-5! clamps.
Here's what makes it a good fit for this project:
- No roof deck penetrations when installed with compatible clamps.
- Engineered components designed to manage accumulated snow.
- A color-matching system using the same metal as your roof.
- A low-profile appearance that works with the roof's architectural lines.
- Components that can be installed on compatible existing or new metal roofs.
The color match is one of our favorite details. Instead of settling for a generic rail color, you're using the actual roofing material to finish the system.
More on that in a minute.
Let's Get This Thing Installed.
Watch Jim demonstrate the installation in our latest Colorado Metal Shop Talk episode.
Step 1: Prep Your S-5! Clamps
- First things first, get your clamps ready.
- Thread the set screws into each clamp before heading up the ladder.
- These clamps fasten to the raised ribs of your panels. The set screws create a mechanical connection by compressing and dimpling the seam without penetrating the roof deck.
- No holes through the roofing panels. That's the beauty of the system.
- Make sure you've selected the correct clamp for your roof profile before getting started.
Step 2: Mark Your Installation Line
- Before installing your clamps, lay out the snow retention bar and mark your alignment.
- A straight installation line helps keep every clamp positioned correctly and the finished bar running cleanly across the roof.
We walks through this process in the video.
And yes, we're practicing ladder safety before heading up there.
Step 3: Get Your Torque Right
Here's where the details really matter.
- For the clamp used in Jim's demonstration, the recommended set screw torque for 24-gauge steel roofing or thinner is approximately 130 to 150 inch-pounds.
- Use a calibrated torque measuring tool to verify that your equipment is delivering the correct tension.
- S-5! recommends a dial-indicating torque wrench for checking clamp tension because standing seams are compressible joints.
- Check your tool at the beginning and end of the project so you know you're getting consistent results.
The goal is to create a secure mechanical connection without penetrating the metal roof.
And remember, torque requirements can vary by clamp model, metal gauge, and roof profile. Always follow the manufacturer's instructions for your specific system.
The Color-Matching System: The Little Detail That Makes a Big Difference
Now for one of the coolest features.
ColorGard allows you to insert a strip of your actual roofing metal into the snow retention bar.
Same material. Same color. Same finish.
The result is a snow retention system that blends into the roof instead of becoming an obvious add-on.
For homeowners investing in a custom standing seam roof, especially one with a premium finish, this is a nice touch.
And because we're fabricating metal locally at Gunnison Sheet Metal, we can help with the matching material and project details.
Step 4: Install the ColorGard Bar and VersaClips
- With your clamps secured and aligned, it's time to bring up the bar.
- The VersaClips connect the ColorGard crossmember to the S-5! clamps.
- For the unpunched ColorGard configuration shown in the video, the mounting bolt goes through the upslope hole of the clamp.
- Position the bar, align the VersaClips, and begin securing the bolts.
Jim also walks through checking the bolt torque. In this demonstration, he references at least 20 foot-pounds.
Installation note: Torque requirements differ between ColorGard versions. Confirm the specified value in the instructions supplied with your system before final tightening.
Once everything is aligned and secured, you've got a clean, low-profile snow retention system ready for Colorado's winter conditions.
Does a Taller Snow Retention Bar Mean a Stronger System?
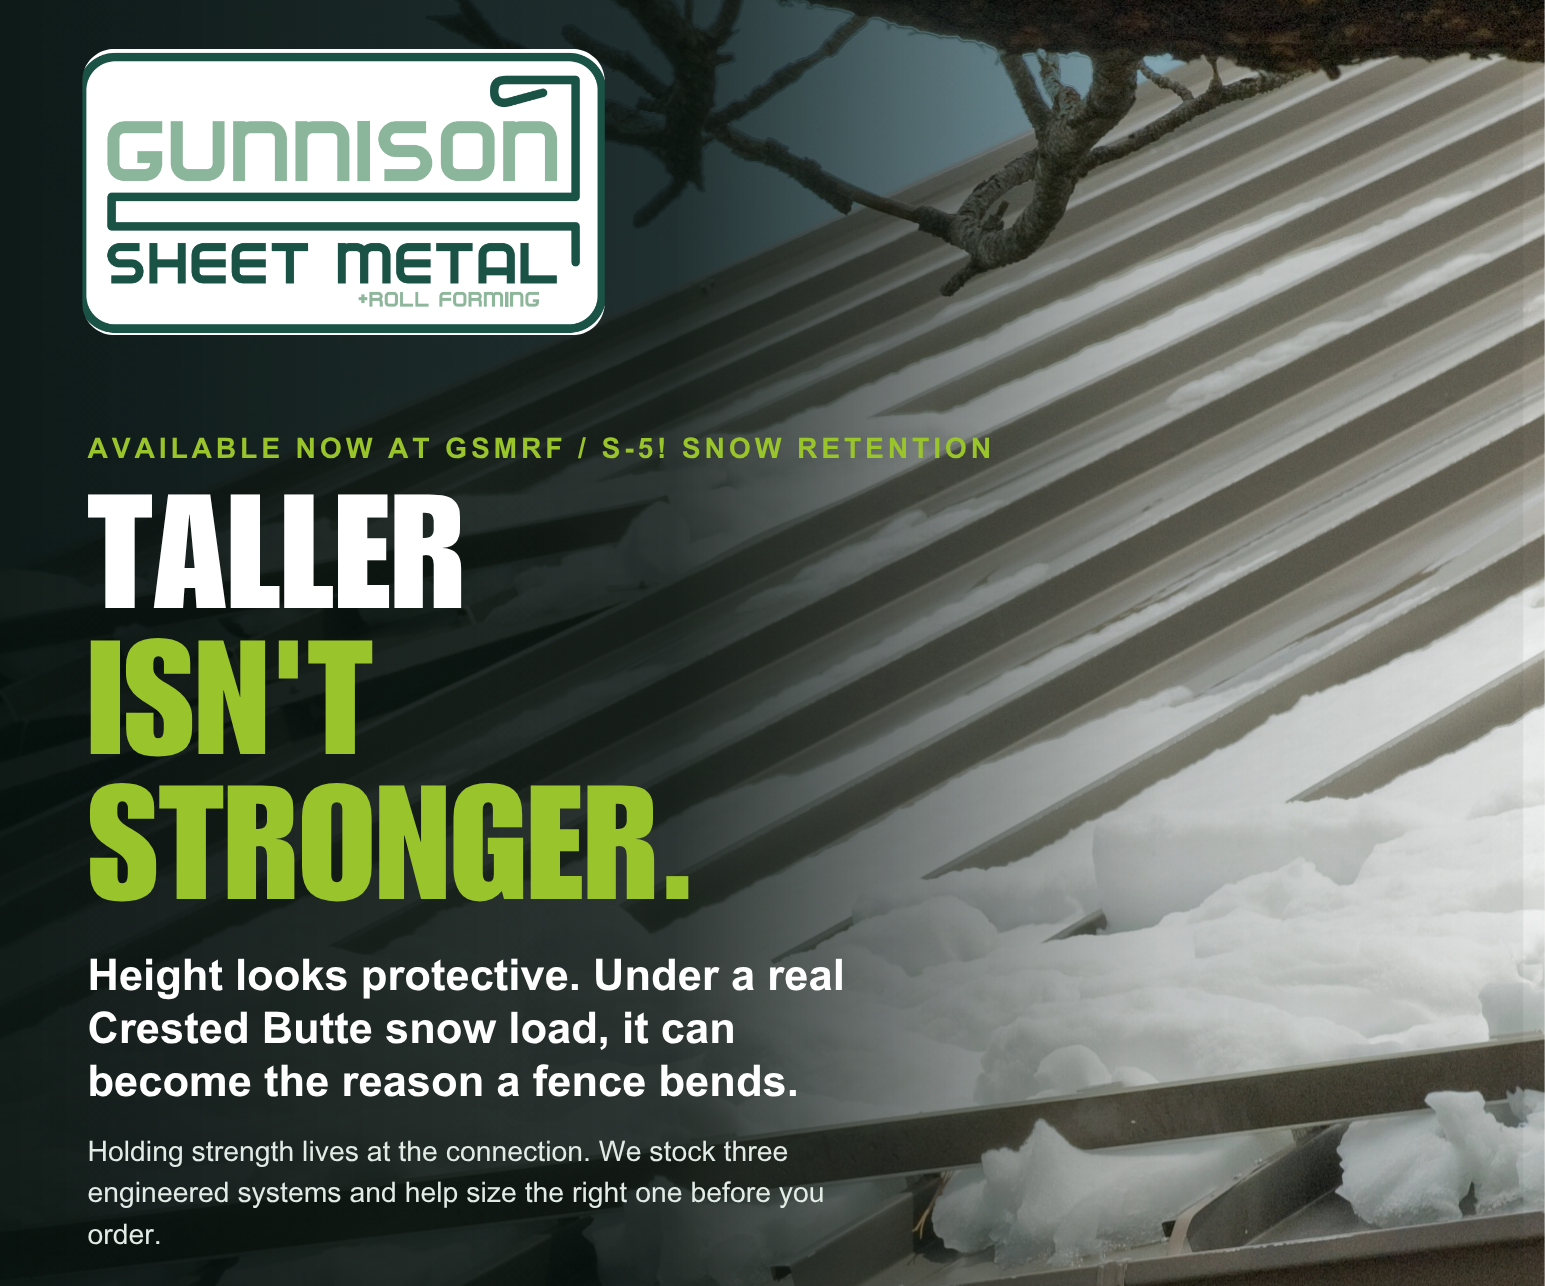
Not necessarily.
As we points out in the video, shorter snow retention bars can offer a strength advantage by reducing the leverage created when snow pushes against the system.
A taller snow bar can experience greater leverage under heavy snow loads, increasing the risk of bending, wedging, or failure of the retention system.
Shorter bars keep the bulk of the snow load closer to the roof surface. Rather than trying to stop a large mass of snow above the bar, the bar helps anchor the snowpack to the metal roof. Any snow extending above the bar is essentially connected to the snow below it, making a large-scale snow slide less likely—although not impossible, depending on the roof pitch and conditions.
But bar height alone doesn't determine performance.
Roof pitch, panel profile, snow load, clamp spacing, and the overall engineered design all play a role in determining the appropriate system.
For the short roof section featured in this installation, only one row was needed based on the project's design.
That doesn't mean every roof only needs one row.
The right configuration depends on your specific roof and its expected snow loads.
Need Snow Retention for Your Colorado Metal Roof? Talk to Josh.
Whether you're a contractor preparing for the next job or a homeowner tackling a DIY project, we can help you get the right materials lined up.
At Gunnison Sheet Metal & Roll Forming, we stock snow retention systems, clamps, and roofing accessories right here in Gunnison.
Not sure which system fits your roof? That's what Josh is here for.
Keep the snow up there. Until it's ready to come down.
Explore our snow retention products or give Josh a call to talk through your project.
Snow Retention FAQs
Can you install snow retention without drilling into a metal roof?
Yes. On compatible roofs, S-5! clamps attach directly to the raised seams without penetrating the roof deck. Exposed-fastener roofing requires a different attachment approach.
Will snow retention prevent ice dams?
Snow retention helps manage snow movement, but it does not guarantee ice dam prevention. Ice dams can also be influenced by roof temperature, insulation, ventilation, and drainage conditions.
Can you add snow retention to an existing metal roof?
Yes, depending on the roofing profile and existing conditions. The appropriate clamp and system must be selected for your roof.
How many rows of snow retention does a metal roof need?
It depends on roof pitch, length, snow loads, panel type, and system design. Some projects require a single row, while others need additional rows to distribute the load.
Is S-5! ColorGard DIY-friendly?
The system uses prefabricated components and a straightforward installation process. However, correct product selection, engineering, clamp spacing, torque, and roof safety are essential.
If you're unsure about your setup, talk to our team before heading up the ladder.
Recent Posts